Thousands of aluminum anodizers dye their products. These companies range from Job shops with 45-gallon tanks to architectural plants with tanks holding 7,000 gallons.
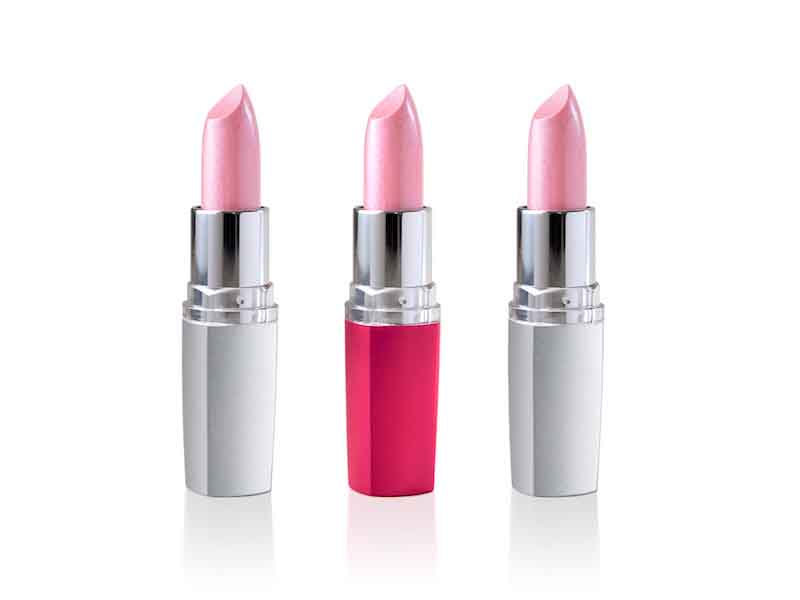
Processed items range from sporting equipment, and cosmetic packages to space station parts. The attractive and highly functional coating that they produce is synonymous with "quality" and the technology has been in commercial use for over 50 years.
Even with this long history, the same questions come up time and time again. Questions relating to dye choice, bath preparation and quality control are common. Also queried are the effects of alloy, anodizing conditions and rinsing which all too often lead to costly defects and downtime. Then there is that black smut or white spotting problem that comes and goes leaving many anodizers scratching their heads.
All About Dyes
When it comes to choosing a dye an anodizer should think about buying an economical product that he/she confidently feels will produce the target color in a consistent manner. Other factors may include light or heat fastness requirements, ease of use, and spent dye disposal. It is very easy to judge the economy of a dye solely on its price, but do you really think that this in an accurate measure? What is the price of a defect, or a faded part that has been returned by your customer? How about the cost of dye disposal; some dyes contain metal and others don't. Another important factor should be productivity. For instance, high performance black dyes can easily color a 0.4 mil thick anodic film. That's half the anodize time and power typically used throughout the industry!
The preparation of a dye bath is relatively simple. The dye bath should be filled about 2/3rd full with hot de-mineralized water and the slurried dye, or in some cases liquid dye, added slowly with agitation to ensure complete dissolution. If the product is purchased in powder or granulated form, the slurry is prepared by taking a bucket and half filling with the pre-heated water from the tank and adding dye with stirring to form a thin paste. If required, a buffering salt and a little acid is added to the tank to adjust the pH to that specified by the vendor. Most dye baths are run at a pH of 5.5 - 6.0 and are kept there with 2 g/l sodium acetate and a little acetic acid. There are however, exceptions and the anodizer should always consult both the technical bulletin and the vendor before making up the bath.
Dyeing is a straightforward procedure where the load is simply immersed in the dye bath for a period of time sufficient to achieve the desired shade. Ideally, for light shades the dye bath concentration should be light. The desired shade should be achieved in no less than 2 minutes. Otherwise uniformity of color within the load and between loads can become an issue. For optimal light or heat fastness it is important to dye to full saturation. In other words, the dye must be in good working order, and the load must be left to soak for 30 minutes or longer.
Quality control of a dye bath typically takes the form of monitoring pH, concentration, and coloring efficiency. In general, the solubility of a dye is proportional to pH -the lower the pH, the lower the solubility. One should keep in mind that many dyes are multi-component mixes. If one or more of these components is more sensitive to pH fluctuations, color shifts can occur. Get the optimum pH range for your dye from your supplier and stick to it by either adding sodium hydroxide or acetic acid.
Concentration is best monitored with a spectrophotometer at the wavelength where maximum absorption takes place. For the majority of anodizers, who do not have this equipment, a visual method can be used with good results. In the lab, make up known standards of varying concentration. Dilute each by the same amount to a point where you can tell differences by looking through the solutions - for black dyes the dilution should be about 200/1. Finally, dilute your unknown bath by the same amount and make a visual comparison with the standards. This method can be surprisingly accurate once you've had a little practice.
All too often, the concentration of a dye bath is where it should be, yet it does not dye as it did when it was first made up. The color can be off, or just too light. A dye is a complex organic molecule that can be sensitive to drag-in of contaminants, growth of moulds, and even, in some cases, heat. When the efficiency of a dilute dye bath falls off, the prudent course of action in many instances is to simply dump the bath and then re-charge. The cost in production time and re-work while struggling to keep the bath in reasonable working order is generally not justifiable. However for black dyes, typically run at 10 g/l and where shade variations are not at issue, the anodizer often finds it in their best interest to continue to run the tank as long as possible.
Measuring efficiency, or effective dye strength is not easy. It involves dyeing panels in standardized baths as well as the test bath, extracting the dye adsorbed by the panels and finally measuring the quantity of dye extracted. The practiced anodizer will often have a good "feel" for the effectiveness of their black dye bath by simply noting how well and how fast the dye is picked up by their parts compared to when the bath was first charged. There are differences of opinion as to how to use effective strength values as a QA tool, or whether it is necessary at all. Studies have shown that some dyes can be used for long term out-door exposure applications. For such product applications, not only is the choice of dye important, so too is its effective strength. Therefore, if a product’s light fastness is guaranteed, effective strength of the dye should be monitored.
Other Process Effects
Proper cleaning and& rinsing are important to achieving color uniformity. If the soil is not completely removed during the pretreatment the possibility exists for areas where the color won't take. Improper rinsing will more typically result in mottled or streaked films. In the cases where aluminum micro-porosity, blind holes, or otherwise difficult to rinse areas exist, white spots may result. A very good idea is the use of a nitric acid immersion treatment between the anodizing and coloring steps. This procedure serves to condition the film for improved dye up-take and minimize the risk of a variety of potential coloring problems.
The morphology and inherent color of the 'as anodized' oxide film directly impacts how well a part accepts dye and it's final appearance. Both alloy and the anodizing process determine these coating characteristics. Usually, an anodizer can do little with regard to alloy selection, however some control over the final appearance can be established by adjusting the current density, time and temperature in the anodizing tank.
As a general rule, increased current densities and lower anodizing temperatures create less porous coatings of reduced clarity. An extreme example would be hard coat anodized films where current densities of 25 A/ft2 (or higher) in baths at 30°F (or lower) produce films which, depending on the alloy, can be nearly opaque. Dyeing such films becomes a challenge, and the palette of available colors is limited. Common methods of dealing with this challenge include immersion for 2-5 minutes in a 10% nitric acid solution, or re-anodizing for 5 minutes under more aggressive conditions. Both of these methods will deteriorate wear resistance to some extent.
On the other extreme are coatings that are highly porous - those which are anodized at elevated temperatures (75°F or higher), low current density (12 A/ft2 or lower), or both. These 'soft' films are relatively easy to dye, and allow for the production of a wider palette, including bright colors. Soft films are also more difficult to seal and tend to develop more smut. The preferred conditions for decorative anodizing is to run the temperature at or near 70°F and the current density between 12-15 A/ft2.
Sealing is a necessary step towards achieving a quality color anodized part. Often a nickel seal is best used either alone, or in combination with a hot water or mid- temperature non-nickel seal. The nickel is a functional component of the seal. It serves to lock in the dyestuff, minimize bleed-out and improve the color fastness of the product. A common problem that is usually blamed on the seal is the presence of smut -a powdery surface residue that is often found on deep colors and black.
It is important to understand that the source of this defect may, in fact be the soft anodize conditions, or even inadequate de-oxidizing following the pretreatment. If the defect can be traced to the seal tank, then pH should be examined, filtration should be used, and the dispersant level in the seal should be checked. By using proper anodizing and sealing conditions this defect can be eliminated in an effective manner.
Despite the relative simplicity of the color anodizing process, things can go astray. If not kept in check, individual production parameters and their varied interactions can lead to costly production down time, defects, or even customer claims. By following the basics for good cleaning, rinsing, anodizing, dyeing, and sealing, very few problems will be encountered. It's the responsibility of all anodizers to produce a product which will continue to give color anodized aluminum the perception of quality we have come to enjoy.
Mark Jozefowicz is Vice President of Technical Services at Reliant Aluminum. Visit http://www.reliantaluminumproducts.com